Search This Blog

Thursday, April 22, 2021

Can't initialize iptables table filter and nat: Permission denied

The best solution will be to change the container image to have an updated iptables version, but in case you can't do that, follow the next steps.

Environment

  • Red Hat OpenShift Container Platform 4.6+

Issue

Executing iptables command in an application container fails with the following error.


[root@pod]# iptables -L iptables v1.8.4 (legacy): can't initialize iptables table `filter': Permission denied Perhaps iptables or your kernel needs to be upgraded.

[root@pod]# iptables -L -t nat iptables v1.8.4 (legacy): can't initialize iptables table `nat': Permission denied Perhaps iptables or your kernel needs to be upgraded.

Resolution

Add the needed capabilities and match the SELinux denied context on audit logs on pod.spec.containers[0].securityContext.

spec: containers: securityContext: privileged: false capabilities: drop: ["all"] add: ["NET_ADMIN", "NET_RAW", "NET_BIND_SERVICE"] seLinuxOptions: user: "system_u" role: "system_r" type: "container_t" level: "s0:c981,c991"

Diagnostic Steps

  1. Find the worker node from where the pod is running.
  2. Connect to the worker node.
  3. Tail audit log.
  4. Initialize a bash session on the pod.
  5. Execute iptables command.
  6. Wait for iptables denial error on audit log.
[root@worker] # tail -f /var/logs/audit/audit.log ...[ SNIP ]... type=AVC msg=audit(1618591176.860:2303): avc: denied { module_request } for pid=912615 comm="iptables" kmod="iptable_filter" scontext=system_u:system_r:container_t:s0:c981,c991 tcontext=system_u:system_r:kernel_t:s0 tclass=system permissive=0 type=AVC msg=audit(1618591176.860:2304): avc: denied { module_request } for pid=912615 comm="iptables" kmod="iptable_filter" scontext=system_u:system_r:container_t:s0:c981,c991 tcontext=system_u:system_r:kernel_t:s0 tclass=system permissive=0 ...[ SNIP ]...

Monday, June 29, 2020

TripleO Container steps

Container steps

Similar to bare metal, containers are brought up in a stepwise manner. The current architecture supports bringing up baremetal services alongside containers. Therefore, baremetal steps may be required depending on the service and they are always executed before the corresponding container step.

The list below represents the correlation between the baremetal and the container steps. These steps are executed sequentially:

  • Containers config files generated per hiera settings.

  • Host Prep

  • Load Balancer configuration baremetal

    • Step 1 external steps (execute Ansible on Undercloud)

    • Step 1 deployment steps (Ansible)

    • Common Deployment steps

      • Step 1 baremetal (Puppet)

      • Step 1 containers

  • Core Services (Database/Rabbit/NTP/etc.)

    • Step 2 external steps (execute Ansible on Undercloud)

    • Step 2 deployment steps (Ansible)

    • Common Deployment steps

      • Step 2 baremetal (Puppet)

      • Step 2 containers

  • Early Openstack Service setup (Ringbuilder, etc.)

    • Step 3 external steps (execute Ansible on Undercloud)

    • Step 3 deployment steps (Ansible)

    • Common Deployment steps

      • Step 3 baremetal (Puppet)

      • Step 3 containers

  • General OpenStack Services

    • Step 4 external steps (execute Ansible on Undercloud)

    • Step 4 deployment steps (Ansible)

    • Common Deployment steps

      • Step 4 baremetal (Puppet)

      • Step 4 containers (Keystone initialization occurs here)

  • Service activation (Pacemaker)

    • Step 5 external steps (execute Ansible on Undercloud)

    • Step 5 deployment steps (Ansible)

    • Common Deployment steps

      • Step 5 baremetal (Puppet)

      • Step 5 containers

Sunday, June 28, 2020

View the list of images on the undercloud docker-distribution registry

To view the list of images on the undercloud docker-distribution registry use the following command:

(undercloud) $ curl http://192.168.24.1:8787/v2/_catalog | jq .repositories[]

To view a list of tags for a specific image, use the skopeo command:

(undercloud) $ curl -s http://192.168.24.1:8787/v2/rhosp13/openstack-keystone/tags/list | jq .tags

To verify a tagged image, use the skopeo command:

(undercloud) $ skopeo inspect --tls-verify=false docker://192.168.24.1:8787/rhosp13/openstack-keystone:13.0-44

Saturday, June 27, 2020

Updating network configuration on the Overcloud after a deployment

By default, subsequent change(s) made to network configuration templates (bonding options, mtu, bond type, etc) are not applied on existing nodes when the overcloud stack is updated.

To push an updated network configuration add UPDATE to the list of actions set in the NetworkDeploymentActions parameter. (The default is ['CREATE'], to enable network configuration on stack update it must be changed to: ['CREATE','UPDATE'].)

  • Enable update of the network configuration for all roles by adding the following to parameter_defaults in an environment file:

    parameter_defaults:
    NetworkDeploymentActions: ['CREATE','UPDATE']
  • Limit the network configuration update to nodes of a specific role by using a role-specific parameter, i.e: {role.name}NetworkDeploymentActions. For example to update the network configuration on the nodes in the Compute role, add the following to parameter_defaults in an environment file:

    parameter_defaults:
    ComputeNetworkDeploymentActions: ['CREATE','UPDATE']

Friday, June 26, 2020

OSD refusing to start with "ERROR: osd init failed: (1) Operation not permitted"

The main issue is: OSD refuses to start with "ERROR: osd init failed: (1) Operation not permitted"

Log error:

2014-11-13 02:32:32.380964 7f977fd87780 1 journal _open /var/lib/ceph/osd/ceph-289/journal fd 21: 10736369664 bytes, block size 4096 bytes, directio = 1, aio = 1
2014-11-13 02:32:32.393814 7f977fd87780 1 journal _open /var/lib/ceph/osd/ceph-289/journal fd 21: 10736369664 bytes, block size 4096 bytes, directio = 1, aio = 1
2014-11-13 02:32:42.105930 7f977fd87780 1 journal close /var/lib/ceph/osd/ceph-289/journal
2014-11-13 02:32:42.112233 7f977fd87780 -1 ** ERROR: osd init failed: (1) Operation not permitted

Resolution:

  • It appears the OSD is having trouble authenticating with the monitor.
  • Verify the keyring file is present and correct?
  • By default, it is located in /var/lib/ceph/osd/ceph-/keyring.
  • It should match the key returned from the command

# ceph auth get osd.

Thursday, November 21, 2019

Get IPMI IP address from OS

 First check that you have ipmitool installed:

[root@lykan ~]# yum provides ipmitool Last metadata expiration check: 0:06:54 ago on Thu 21 Nov 2019 10:39:22 PM CST. ipmitool-1.8.18-10.fc29.x86_64 : Utility for IPMI control Repo : fedora Matched from: Provide : ipmitool = 1.8.18-10.fc29

Discover:

[root@lykan ~]# ipmitool lan print | grep "IP Address" IP Address Source : Static Address IP Address : 10.10.4.5

The complete information provided:

[root@lykan ~]# ipmitool lan print Set in Progress : Set Complete Auth Type Support : NONE MD2 MD5 PASSWORD Auth Type Enable : Callback : : User : : Operator : : Admin : : OEM : IP Address Source : Static Address IP Address : 10.10.4.5 Subnet Mask : 255.255.255.0 MAC Address : xx:xx:xx:xx:xx:xx SNMP Community String : public IP Header : TTL=0x40 Flags=0x00 Precedence=0x00 TOS=0x10 BMC ARP Control : ARP Responses Disabled, Gratuitous ARP Disabled Gratituous ARP Intrvl : 2.0 seconds Default Gateway IP : 10.10.4.254 Default Gateway MAC : 00:00:00:00:00:00 Backup Gateway IP : 0.0.0.0 Backup Gateway MAC : 00:00:00:00:00:00 802.1q VLAN ID : Disabled 802.1q VLAN Priority : 0 RMCP+ Cipher Suites : 0,1,2,3,4,5,6,7,8,9,10,11,12,13,14,128 Cipher Suite Priv Max : XXXaaaXXaaaXaaa : X=Cipher Suite Unused : c=CALLBACK : u=USER : o=OPERATOR : a=ADMIN : O=OEM Bad Password Threshold : Not Available

Tuesday, October 1, 2019

Improve user experience using QEMU/KVM with Windows guest

A lot of sysadmins, SRE o wherever you want to call us, using native Linux in our laptops have the need to use virtual machines running Windows (some support, pentesting tasks, etc), if you are passionate about running periodic updates by now you figure out the main problem of this, if not, you will; the main problem is that on every kernel upgrade, you will lose the modules of VMware or VirtualBox, the best solution for this is to use QEMU/KVM, the K is for kernel so the support is embedded in the kernel, with this you will never lose support on your virtual machines, but there is a catch, even if you install virtIO drivers you will face issues like the screen does not resize, copy and paste from host to guest does not work, and is very sad to work that way.

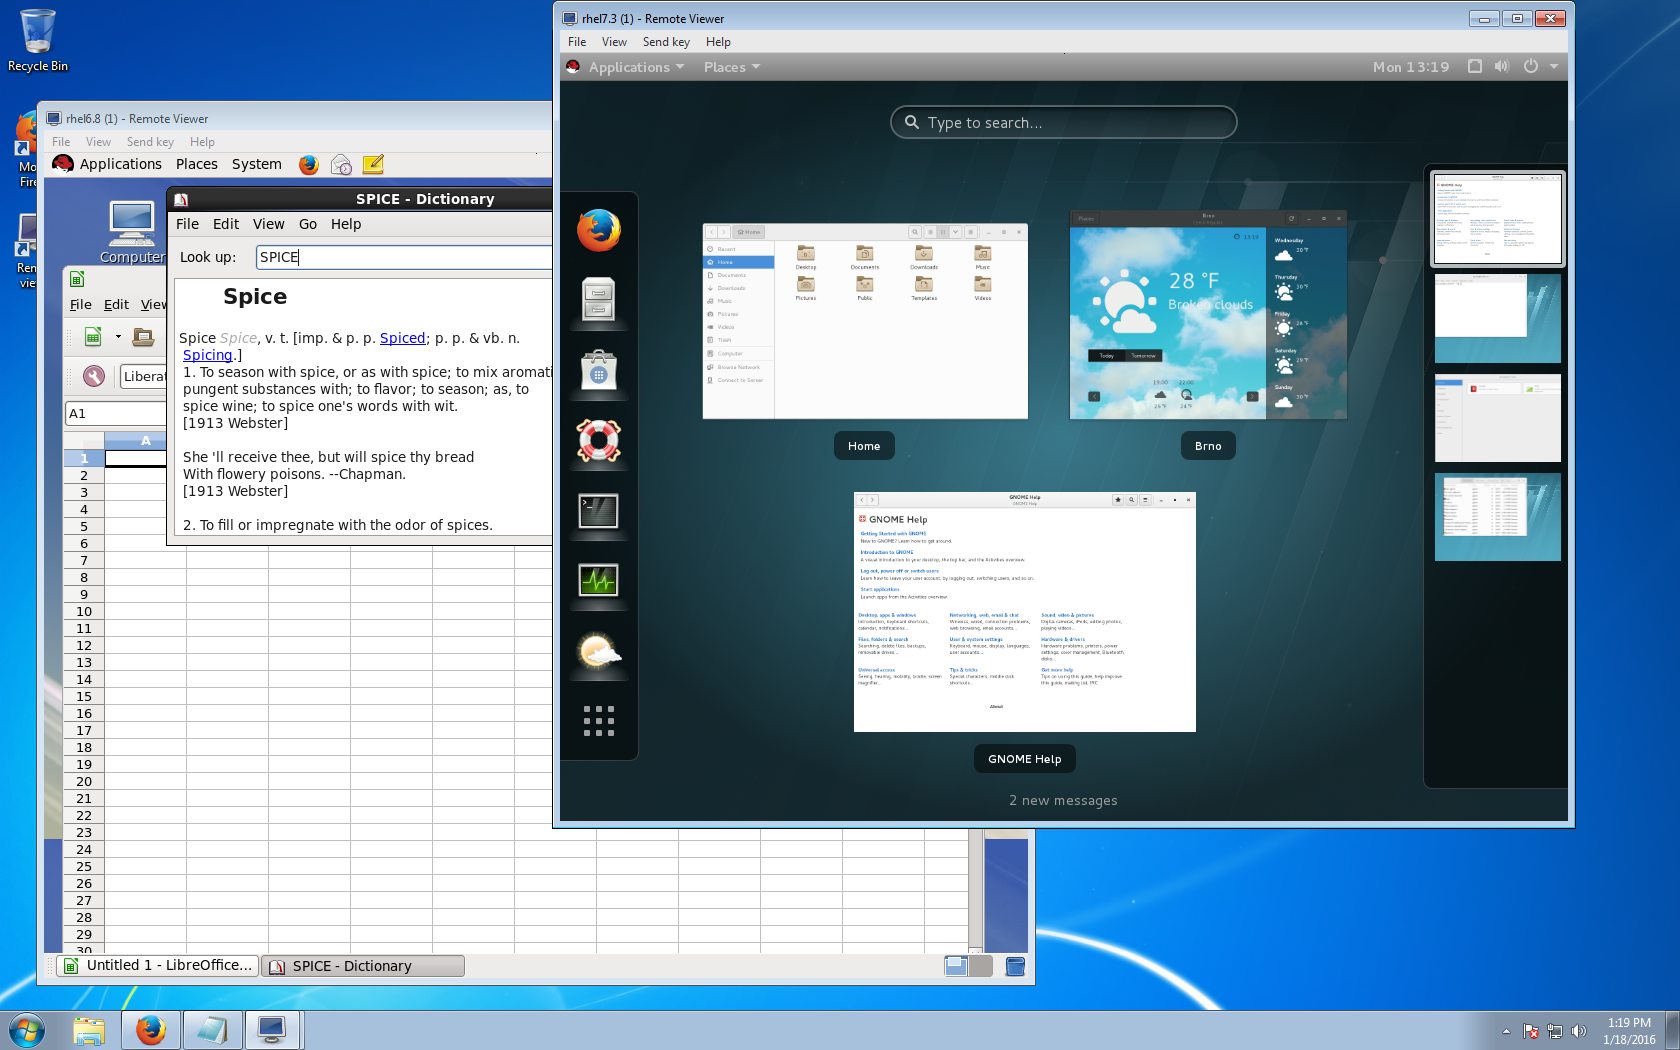
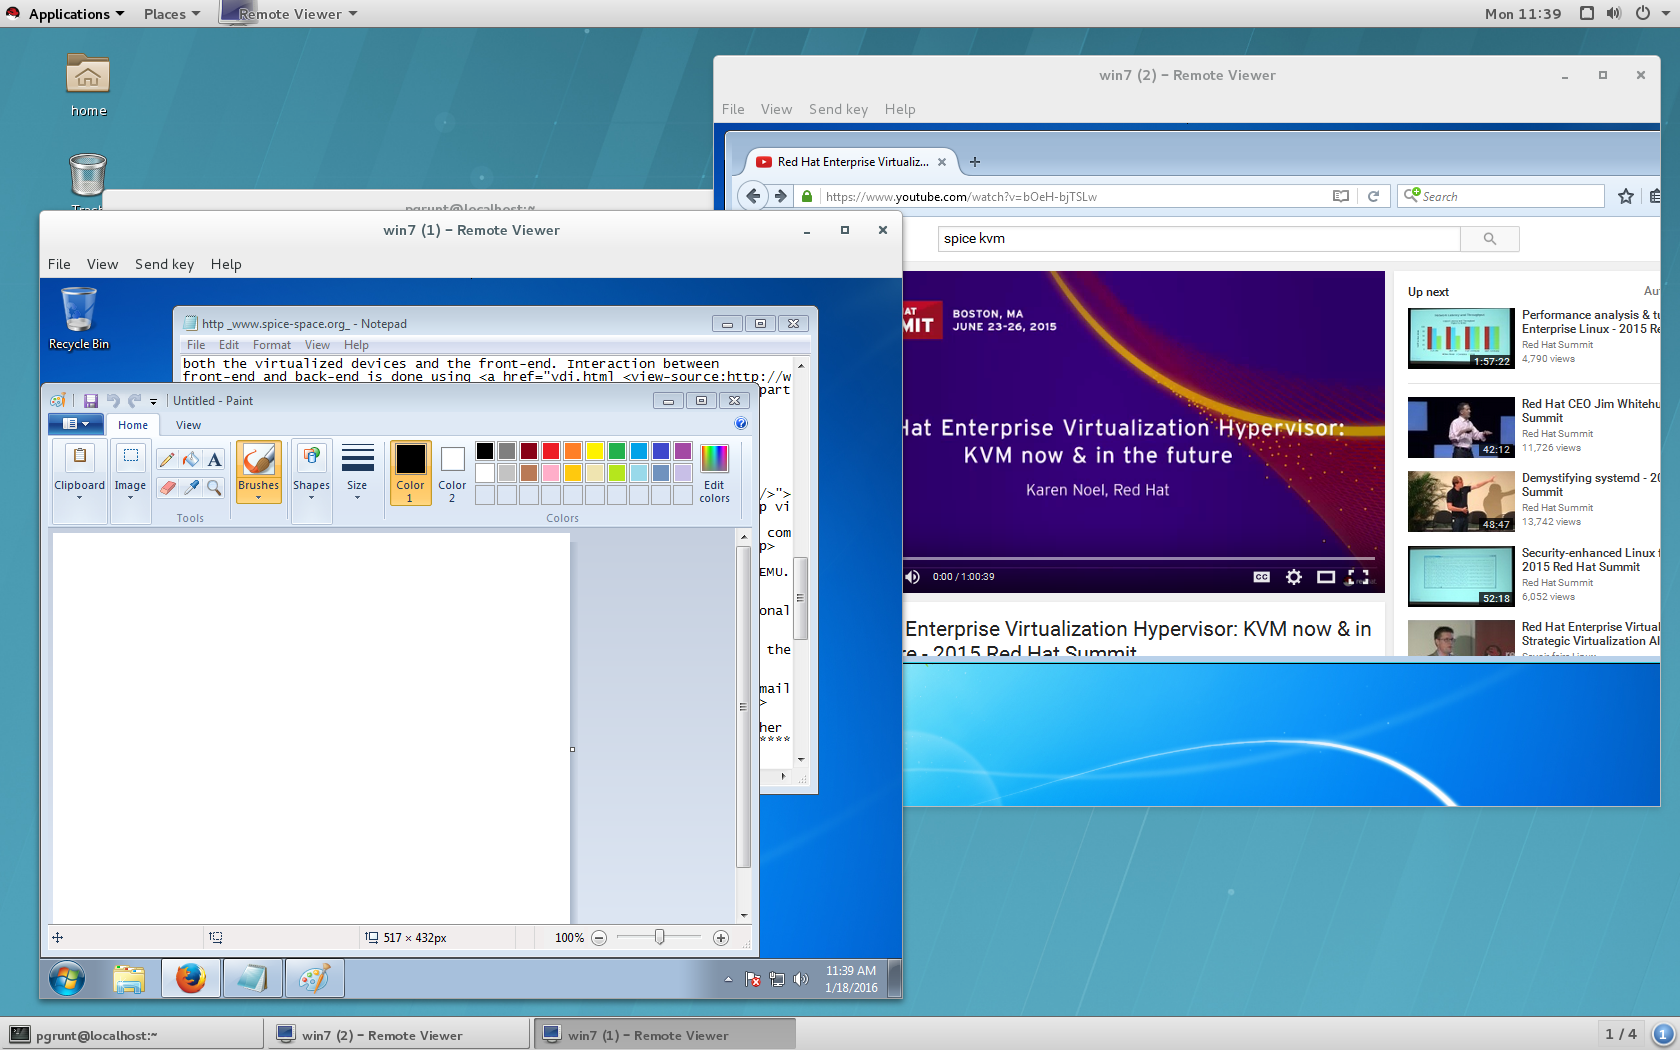
So the solution: The SPICE project aims to provide a complete open-source solution for remote access to virtual machines in a seamless way so you can play videos, record audio, share USB devices, and share folders without complications.


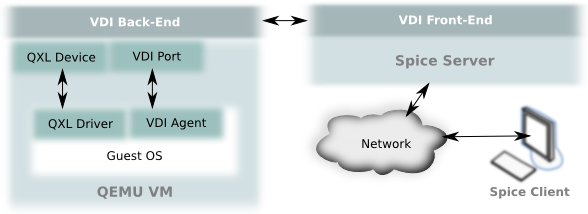
SPICE could be divided into 4 different components: Protocol, Client, Server, and Guest. The protocol is the specification in the communication of the three other components; A client such as a remote viewer is responsible to send data and translate the data from the Virtual Machine (VM) so you can interact with it; The SPICE server is the library used by the hypervisor in order to share the VM under SPICE protocol; And finally, the Guest side is all the software that must be running in the VM in order to make SPICE fully functional, such as the QXL driver and SPICE VDAgent.


Just put in your virtual machine a channel spice and install the driver, the latest version could be found here.